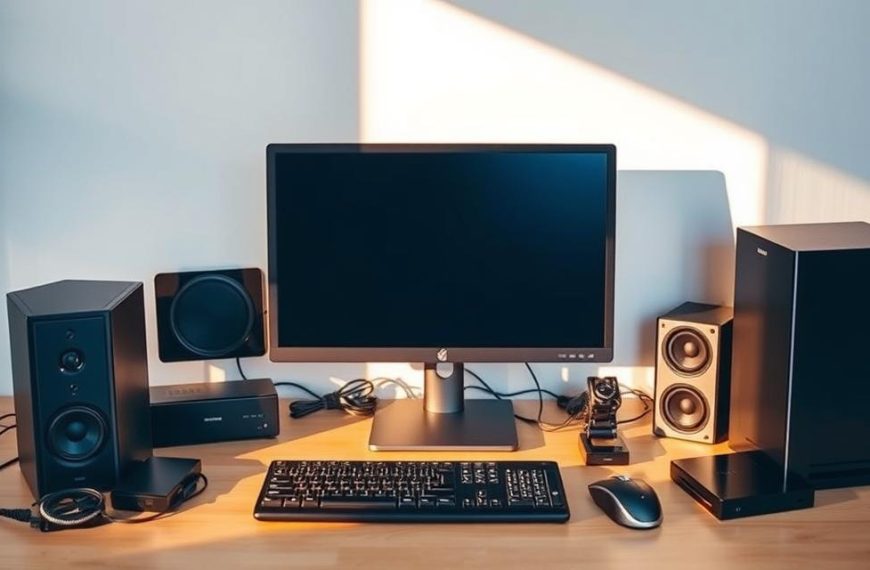

Setting up a printer across different operating systems can be frustrating. Many users face challenges with device discovery and network consistency. This guide simplifies the process for both Windows and macOS users.
Proper configuration saves time and ensures seamless printing. Whether at home or in the office, cross-platform compatibility is essential. Follow these steps to streamline your system setup and avoid common pitfalls.
Questions about easily connect printer also connect with ram really when readers compare closely related topics.
By understanding key concepts like device discovery and network consistency, you can achieve a hassle-free experience. This guide provides clear instructions for a smooth and efficient process.
Introduction to Connecting a Network Printer
Network printers have become essential tools in modern workplaces. They allow multiple devices to share a single printer, boosting productivity and reducing costs. However, setting them up can be tricky, especially with different operating systems like Windows and macOS.
One common challenge is ensuring all devices can communicate over the same network. Variations in OS settings often complicate the process. A stable connection and updated drivers are critical for smooth operation.
Understanding basic terms like IP address and device discovery can simplify the setup. Security is another key consideration, especially in shared office environments. Protecting your printer from unauthorized access ensures data safety.
“A well-configured network printer saves time and enhances efficiency.”
By addressing these factors, you can create a seamless printing experience. Whether at home or in the office, proper setup ensures your devices work together flawlessly.
How to Find a Printer on a Network
Locating a printer on your network is the first step to seamless printing. Whether you’re using Windows or macOS, ensuring your devices are on the same network is critical. This process involves verifying connectivity, accessing system settings, and selecting your desired printer from the available options.

Ensure Printer and Computer Are on the Same Network
Before proceeding, make sure both your printer and device are on the same connected network. Check the IP addresses to confirm they belong to the same subnet. For Wi-Fi connections, ensure both devices are linked to the same SSID. Ethernet users should verify cable connections and router settings.
Access the Control Panel and Add a Printer
On Windows, navigate to the Control Panel and open the printers scanners section. Click on add printer to initiate the search. For macOS, open System Preferences and select “Printers & Scanners.” Use the “+” button to start the discovery process.
Select Your Desired Printer from the List
Once the system completes the search, a list printers will appear. Choose your desired printer and follow the on-screen instructions to complete the setup. If your printer doesn’t appear, ensure it’s powered on and connected to the network.
| Step | Windows | macOS |
|---|---|---|
| Verify Network | Check IP address | Check Wi-Fi SSID |
| Access Settings | Control Panel > Printers | System Preferences > Printers |
| Add Printer | Click “Add a Printer” | Click “+” Button |
For more detailed instructions, refer to this step-by-step guide on adding a network printer.
How to Add a Network Printer in Windows
Adding a network printer in Windows is straightforward with the right steps. Each version of Windows has its unique interface, but the process remains intuitive. Whether you’re using Windows 10, 11, or 8, this guide will walk you through the setup.
Adding a Network Printer in Windows 10
In Windows 10, begin by opening the Start menu. Navigate to Settings and select Devices. Click on Printers & Scanners and then choose Add a printer or scanner. The system will automatically search for available devices.
If your printer isn’t found, select The printer that I want isn’t listed. Enter the printer’s IP address or name to proceed. Windows will install the necessary drivers, making the process seamless.
Adding a Network Printer in Windows 11
Windows 11 introduces a reorganized Settings app. Open it and go to Bluetooth & devices. Click on Printers & Scanners and then Add device. The new discovery UI simplifies the process.
For older printers, ensure drivers are updated. Windows 11 supports automatic driver installation, but manual updates may be required for compatibility.
Adding a Network Printer in Windows 8
Windows 8 users can access the Charms bar by swiping from the right or pressing Windows + C. Go to Settings and select Change PC settings. Navigate to Devices and click Add a device.
If the printer isn’t detected, use the legacy Control Panel options. Open Devices and Printers and select Add a printer. Follow the prompts to complete the setup.
Setting a default printer ensures all print jobs are directed to the correct device. This preference can be managed across the Microsoft ecosystem for consistency.
How to Connect a Network Printer in macOS
Configuring a printer on macOS is simple with the right steps. Apple’s intuitive system ensures seamless integration with modern devices. Whether you’re using AirPrint or advanced configurations, the process is designed to take minutes.

Open System Preferences and Add a Printer
Start by opening System Preferences on your Mac. Navigate to the “Printers & Scanners” section and click the “+” button. Your desired printer should appear in the list of printers displayed if it’s on the same network.
For AirPrint-compatible devices, the setup is automatic. If your printer isn’t listed, use the “IP” tab to enter its address manually. This ensures compatibility with older models or advanced configurations.
Select Your Desired Printer from the List
Once the search completes, choose your desired printer from the list. macOS will install the necessary drivers automatically. If prompted, confirm the printer’s name and location for easy identification.
For shared environments, managing printer queues is straightforward. macOS integrates with iCloud and Handoff features, allowing seamless printing across Apple devices.
| Step | Action |
|---|---|
| 1 | Open System Preferences |
| 2 | Select “Printers & Scanners” |
| 3 | Click “+” to add a printer |
| 4 | Choose your desired printer |
| 5 | Complete the setup |
If you encounter issues, troubleshooting CUPS (Common UNIX Printing System) errors can resolve most problems. macOS provides detailed logs to identify and fix connectivity issues.
Conclusion
Managing printer-related issues effectively ensures smooth operations. For persistent connection problems, restart both the device and printer. Verify they are on the same network and update drivers regularly. These steps often resolve common challenges.
Regular maintenance, including firmware updates, enhances performance. For large-scale setups, consider enterprise solutions tailored to your needs. Proper management prevents disruptions and extends the lifespan of your equipment.
For additional support, Perfect Colours offers professional services. Their expertise ensures optimal setup and long-term reliability. Keeping a checklist for updates and configurations simplifies maintenance.
Explore detailed guidance for troubleshooting and setup. With the right help, your printing experience remains efficient and hassle-free.
FAQ
Why isn’t my printer appearing on the network?
Ensure both your printer and computer are connected to the same network. Check the printer’s power and connection status. Restarting both devices often resolves this issue.
Can I add a network printer using Bluetooth?
No, network printers typically use Wi-Fi or Ethernet connections. Bluetooth is generally used for direct device-to-device printing, not network setups.
How do I set a default printer in Windows?
Go to Settings > Devices > Printers & Scanners. Select the desired printer and click Set as default. This ensures all print jobs go to your preferred device.
What if my printer isn’t listed in the Control Panel?
Use the Add a Printer option in the Control Panel. If the printer still doesn’t appear, manually enter its IP address or network name to establish the connection.
Does macOS support all network printers?
Most modern printers are compatible with macOS. Open System Preferences > Printers & Scanners, then click the + button to add your desired printer from the list.
How long does it take to connect a network printer?
The process usually takes just a few minutes. Follow the steps in your operating system’s settings, and ensure both devices are properly connected to the network.
Can I connect multiple computers to one network printer?
Yes, a network printer can be shared among multiple devices. Simply add the printer to each computer using the same network connection steps.
 By
By