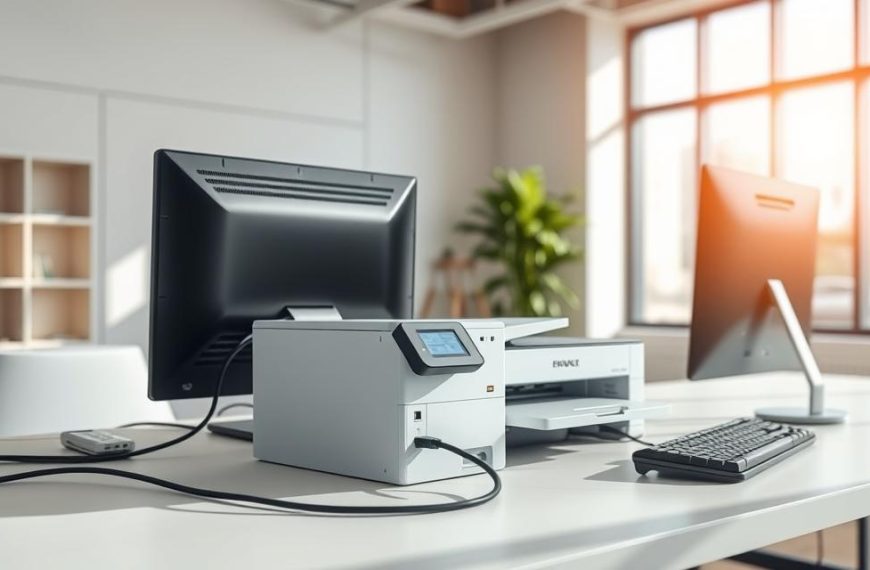
Modern systems often face hardware issues that can disrupt productivity. These problems range from overheating to faulty components. Identifying and resolving them quickly is essential for maintaining performance.
A systematic approach to troubleshooting ensures efficient problem-solving. It helps pinpoint the root cause of failures, saving time and resources. Proper maintenance also extends the lifespan of your system.
This guide covers seven critical hardware problems, offering practical solutions. Whether you’re an IT professional or a home user, these tips will help you address common issues. Always follow safety protocols when handling internal components to avoid damage or injury.
By understanding these challenges, you can keep your system running smoothly. Stay prepared for 2025 hardware advancements and potential issues. Proactive care ensures long-term reliability and performance.
Introduction to Computer Hardware Troubleshooting
With 2025 advancements, hardware demands will increase. Systems will require more robust components to handle higher workloads. Identifying and resolving hardware issues early ensures uninterrupted productivity.
Statistics show that power supply units (PSUs) and hard drives are among the most failure-prone components. PSUs fail at a rate of 15%, while hard drives experience a 10% failure rate annually. Addressing these problems promptly can save time and money.
DIY repairs can be cost-effective, but professional services offer expertise and warranties. For example, replacing a faulty PSU yourself costs around $50, while professional services may charge $150. However, improper handling can lead to further damage.
Diagnostic tools like HWMonitor and MemTest86 simplify troubleshooting. These tools monitor system health and test memory for errors. Using them can help pinpoint issues quickly.
Electrostatic discharge (ESD) protection is crucial during repairs. A single static shock can damage sensitive components. Always use an anti-static wrist strap when working inside a computer.
Following COMPTIA A+ methodologies ensures a systematic approach. These guidelines emphasize testing obvious solutions first. For instance, checking cable connections can resolve many issues without extensive diagnostics.
A case study on overheating prevention highlights the importance of proper cooling. Regularly cleaning dust from fans and vents can extend the lifespan of your system. This simple step prevents costly repairs.
| Component | Failure Rate | Average Repair Cost (DIY) | Average Repair Cost (Professional) |
|---|---|---|---|
| PSU | 15% | $50 | $150 |
| Hard Drive | 10% | $40 | $120 |
Understanding the Basics of Hardware Issues
The relationship between hardware components plays a critical role in system performance. Each part, from the power supply unit (PSU) to the CPU, works in harmony. When one component fails, it can disrupt the entire system.
Thermal dynamics are another key factor. Modern computing generates significant heat, which can lead to damage if not managed properly. Proper cooling solutions, like fans and heat sinks, are essential for maintaining optimal temperatures.
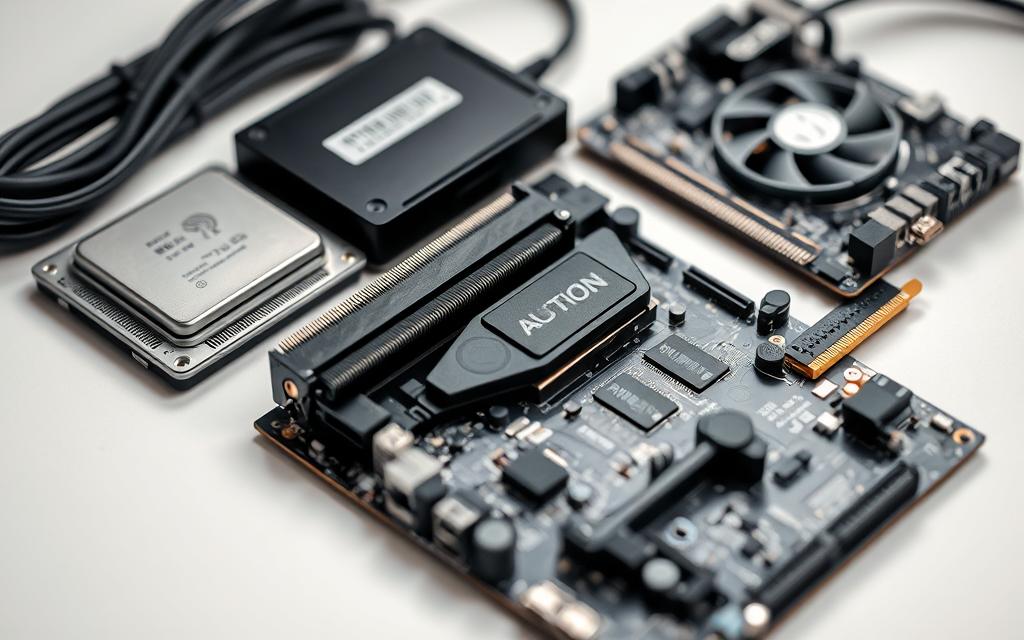
Component interdependencies are crucial to understand. For example, the PSU supplies power to the motherboard, which then powers the CPU. A failure in the PSU can cause cascading failures across the system. Recognizing these relationships helps in diagnosing issues effectively.
Warning signs often start small. Minor glitches, like random freezes or slow performance, can escalate into critical failures. Addressing these early can prevent costly repairs and downtime.
BIOS/UEFI firmware updates are often overlooked but are vital for system stability. These updates can fix bugs, improve compatibility, and enhance performance. Always check for updates from the manufacturer.
- Planned obsolescence is a reality in consumer hardware. Manufacturers design components with limited lifespans to encourage upgrades.
- HDDs and SSDs have different failure characteristics. HDDs are prone to mechanical failures, while SSDs suffer from write cycle limitations.
- Warranty considerations vary by component. Always review the manufacturer’s warranty terms before making a purchase.
Understanding these basics helps in maintaining a reliable and efficient system. Regular maintenance and awareness of potential issues ensure long-term functionality.
How to Troubleshoot Hardware Problems of a Computer
Effective diagnostics begin with a clear understanding of the system’s behavior. Start with obvious solutions, such as checking cable connections or restarting the device. These simple steps can often resolve minor issues without extensive effort.
A comprehensive workflow chart for diagnostics ensures no detail is overlooked. Begin by identifying symptoms, then proceed to isolate potential causes. This process helps narrow down the root of the problem efficiently.
Having the right tools is essential for accurate troubleshooting. A multimeter, PSU tester, and thermal paste are must-haves for any diagnostic kit. These tools help verify component functionality and ensure proper connections.
Safety protocols are critical when working with live electrical components. Always power off the system and use an anti-static wrist strap to prevent damage. Following these guidelines protects both the user and the equipment.
Interpreting POST codes and beep sequences can reveal specific errors. These signals provide valuable insights into hardware malfunctions. Refer to the motherboard manual for detailed explanations of these codes.
- Prioritize data recovery before replacing any components. Backup important files to avoid permanent loss.
- Create a bootable diagnostic USB drive for advanced testing. This tool can help identify issues that aren’t apparent during normal operation.
- Analyze event viewer logs for detailed error reports. These logs often contain clues about the root cause of system failures.
- Use manufacturer-specific diagnostic software for precise results. These programs are tailored to the hardware and provide accurate assessments.
By following these guidelines, you can diagnose and resolve issues effectively. A systematic approach ensures minimal downtime and maximizes system performance.
Problem #1: Your Computer Won’t Turn On
When your system fails to start, it can be frustrating and disruptive. The issue often stems from simple causes like loose connections or a faulty power supply. Addressing these problems quickly can restore functionality and prevent further complications.
Check Power Connections
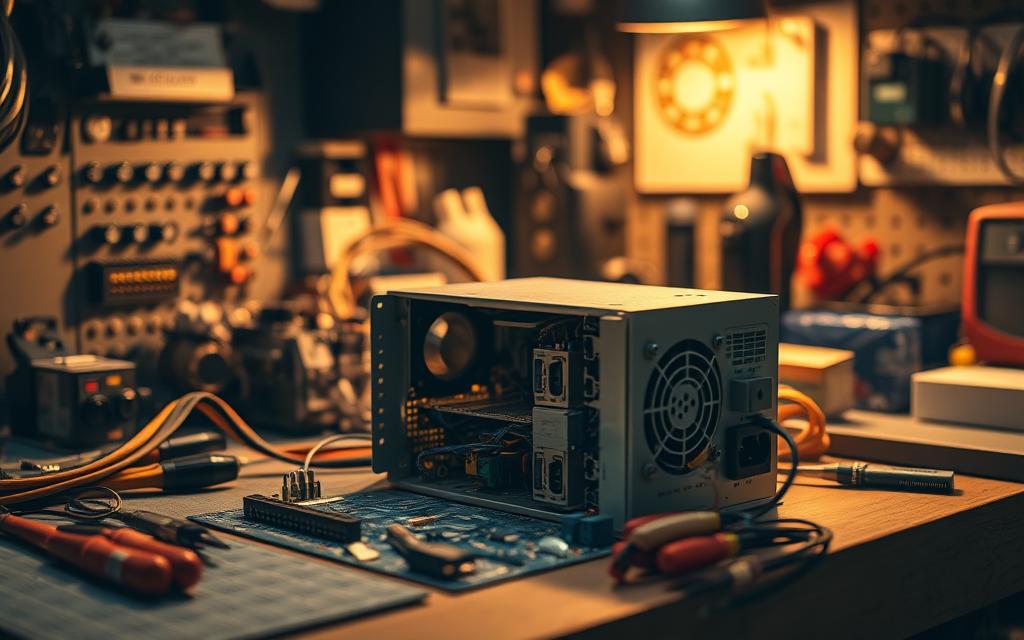
Begin by examining all cable connections. Ensure the power cord is securely plugged into both the wall outlet and the system. Loose or damaged cables are common culprits for startup failures.
Inspect the ATX power connectors, including the 24-pin and 8-pin variants. These connectors supply power to the motherboard and CPU. Verify that they are firmly seated and free from damage.
Inspect the Power Supply Unit (PSU)
The power supply is a critical component that converts AC power into DC for your system. Use a multimeter to test the PSU’s output voltages. Refer to the ATX specifications for accurate readings.
Look for signs of failing capacitors, such as bulging or leaking. These symptoms indicate a compromised PSU that needs replacement. Modular and non-modular designs have distinct advantages, but both require proper cable management to avoid issues.
Test Different Power Outlets
Sometimes, the problem lies with the wall outlet. Use a multimeter to check the outlet’s voltage. Ensure it provides a stable 120V in the U.S. If the outlet is faulty, switch to a different one or consult an electrician.
Safety is paramount when handling electrical components. Always discharge capacitors in the PSU before inspection to avoid injury. Following these steps ensures a thorough and safe diagnostic process.
Problem #2: Your Computer Turns On, But Still Doesn’t Work
A powered-on system that doesn’t function properly can be perplexing and frustrating. This issue often stems from deeper hardware components or initialization errors. Diagnosing the root cause requires a systematic approach to identify and resolve the problem.

Listen for Beep Codes
Beep codes are auditory signals generated by the BIOS during startup. These codes indicate specific errors in the system. AMI and Phoenix BIOS have distinct beep patterns, each corresponding to different issues. For example, a single beep often signifies a successful POST, while multiple beeps point to failure in components like the ram or GPU.
- Refer to the motherboard manual for beep code interpretations.
- Compare AMI and Phoenix codes to pinpoint the issue accurately.
- Use a POST card for advanced error code interpretation.
Check the Power-On Self-Test (POST)
The POST is a diagnostic process that verifies the functionality of essential hardware components. If the system halts during POST, it indicates a critical issue. Check for error messages on the screen or LED indicators on the motherboard. These messages provide clues about the failing component.
- Reset the CMOS jumper to restore default BIOS settings.
- Verify UEFI vs Legacy BIOS display initialization differences.
- Ensure all cables and connections are secure.
Inspect RAM and Video Card
Faulty ram or a defective video card can prevent the system from functioning properly. Reseat the RAM modules in their DIMM slots to ensure proper contact. Test each module individually to identify a potential failure. For the video card, check for artifacting or compatibility issues with the PCIe slot.
- Use MemTest86 to test ram for errors.
- Inspect the GPU for physical damage or overheating.
- Verify dual-channel memory configuration for optimal performance.
Problem #3: Your Computer Screen Freezes
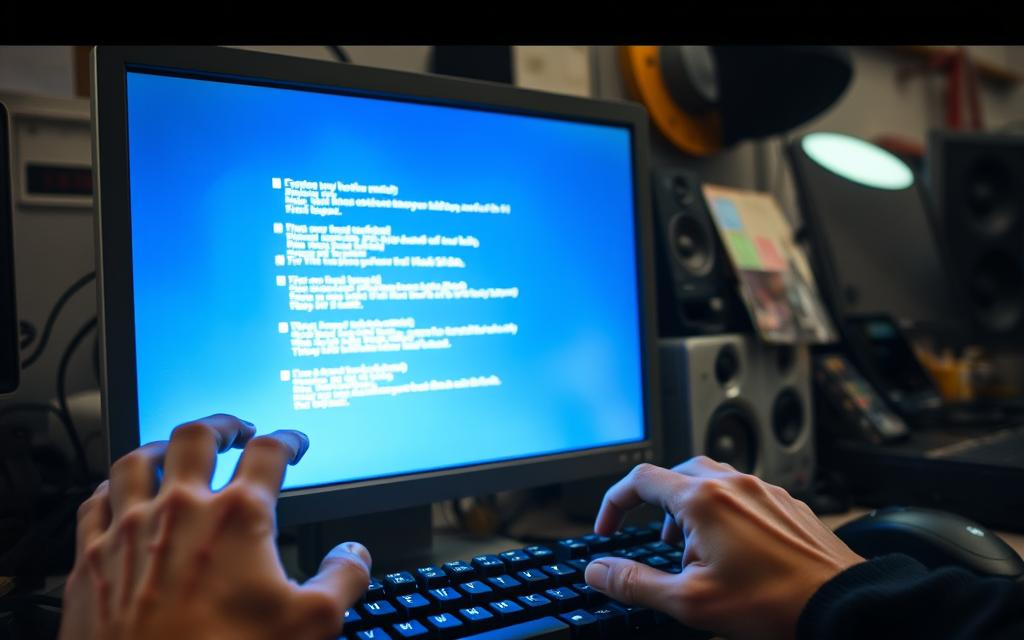
Screen freezes can halt productivity and disrupt workflow, making them a common frustration for users. These issues often stem from software conflicts, defective hardware, or driver malfunctions. Addressing them promptly ensures your system runs smoothly.
End Non-Responding Programs
When your screen freezes, the first step is to check for non-responding programs. Open the Task Manager to identify processes consuming excessive resources. Prioritize ending tasks that are unresponsive or using high CPU or memory.
For recurring freezes, analyze memory dumps to pinpoint problematic software. This helps identify patterns and resolve underlying causes. Regularly updating applications can also prevent compatibility issues.
Reboot into Safe Mode
Safe Mode is a diagnostic environment that loads only essential drivers and services. Rebooting into Safe Mode can help isolate whether the freeze is caused by third-party software or drivers. While networking is limited, this mode allows you to troubleshoot without interference.
If the system operates normally in Safe Mode, the issue likely lies with recently installed software or drivers. Use the Driver Verifier utility in Windows to test driver stability and identify problematic ones.
Check for Defective Hardware or Drivers
Defective hardware or outdated drivers can also cause screen freezes. Inspect components like the GPU and RAM for physical damage or overheating. Use tools like MemTest86 to test memory for errors.
For SSDs, ensure the Trim command is enabled to maintain performance. For HDDs, regular defragmentation can prevent slowdowns. Roll back display drivers if recent updates cause instability, and avoid firmware updates for peripheral devices unless necessary.
Problem #4: Your Computer Has Insufficient Memory
Insufficient memory can significantly slow down your system, affecting productivity. When your device runs out of available memory, it struggles to handle multiple tasks, leading to delays and frustration. Addressing this issue promptly ensures smoother performance and a better user experience.
Close Extra Windows
Running too many applications simultaneously consumes memory. Start by closing unused programs to free up resources. Use the Task Manager to identify processes consuming excessive RAM. This simple step can improve your system’s responsiveness.
Reboot and Install Updates
Rebooting your device clears temporary files and resets memory usage. Additionally, ensure your operating system and applications are up to date. Updates often include optimizations that enhance performance and resolve memory-related issues.
Add More RAM
If your system consistently runs out of memory, consider upgrading your RAM. Check your motherboard’s specifications to ensure compatibility with DDR4 or DDR5 modules. Adding more RAM can significantly boost your device’s capabilities.
- Optimize the page file to manage virtual memory effectively.
- Use Resource Monitor to detect and address memory leaks.
- Verify DDR4 vs DDR5 compatibility before upgrading.
- Enable XMP profiles in BIOS for enhanced RAM performance.
- Calculate virtual memory settings based on your usage needs.
- Follow best practices for populating RAM slots.
- Adjust memory timings in BIOS for optimal efficiency.
- Choose ECC or non-ECC RAM based on your hardware requirements.
Problem #5: You Get a CMOS Error
A CMOS error can disrupt your system’s functionality, signaling potential issues with its core settings. This error often appears during startup, indicating problems with the BIOS or CMOS battery. Addressing it promptly ensures your system operates smoothly.
Replace the CMOS Battery
The CMOS battery, typically a CR2032, powers the BIOS settings when the system is off. Over time, it loses charge, leading to errors. Testing the battery’s shelf life ensures it’s still functional. Replace it if it’s below the required voltage.
Locate the battery on the motherboard and carefully remove it. Insert a new one, ensuring proper alignment. This simple step often resolves CMOS errors and restores system stability.
Enter CMOS Values to Defaults
Resetting CMOS values to default can fix configuration issues. Use the motherboard’s jumper pins or remove the battery for a few minutes to clear settings. This process resets the BIOS to its original state.
After resetting, reconfigure essential settings like boot order and legacy USB support. Saving a BIOS profile beforehand can simplify this process. Always verify Secure Boot and CSM compatibility to avoid further errors.
- Test CR2032 battery shelf life regularly to prevent unexpected failures.
- Identify motherboard jumper locations for quick CMOS resets.
- Save and load BIOS profiles to streamline configuration changes.
- Configure legacy USB support for older peripherals.
- Address Secure Boot vs CSM compatibility issues during setup.
- Sync the hardware clock to avoid time-related errors.
- Investigate CMOS checksum error root causes for advanced troubleshooting.
- Understand enterprise vs consumer BIOS differences for optimal configuration.
By addressing CMOS errors systematically, you can maintain your system’s reliability. Regular checks and timely replacements ensure long-term performance and prevent disruptions.
Problem #6: Your Operating System Is Missing or Your Hard Drive Isn’t Detected
An undetected hard drive or missing operating system can bring your workflow to a standstill. This issue often arises from connection errors, BIOS misconfigurations, or corrupted boot records. Addressing it promptly ensures your system returns to normal operation.
Reconnect the Hard Drive
Start by checking the physical connections of your hard drive. Ensure the SATA or NVMe cables are securely attached to both the drive and the motherboard. Loose connections are a common cause of detection failures.
For SATA drives, verify the power cable is properly connected. For NVMe drives, ensure the M.2 slot is free of debris. Reconnecting the drive often resolves detection issues without further troubleshooting.
Set BIOS to Default State
Misconfigured BIOS settings can prevent the hard drive from being recognized. Enter the BIOS setup and reset it to default values. This ensures all configurations, including boot order and drive detection, are restored to their original state.
Check for UEFI boot partition requirements if your system uses UEFI firmware. Ensure the drive is set as the primary boot device. This step is crucial for proper initialization.
Rebuild the Master Boot Record (MBR)
A corrupted Master Boot Record (MBR) can render your disk unbootable. Use the Windows Recovery Environment to rebuild the MBR. This process involves running commands like bootrec /fixmbr and bootrec /fixboot.
For advanced users, the diskpart clean command can be used to reset the disk partition structure. However, proceed with caution as this erases all data on the drive.
- Understand SATA vs NVMe detection differences for accurate troubleshooting.
- Ensure UEFI boot partition requirements are met for proper initialization.
- Use the diskpart clean command with caution to avoid data loss.
- Consider RAID array rebuilding if multiple drives are involved.
- Diagnose HDD platter spin-up issues for mechanical drives.
- Follow secure erase procedures for SSDs to maintain performance.
- Enable BIOS hot-swap configurations for external drives.
- Evaluate data recovery service selection criteria for critical information.
Problem #7: The Blue Screen of Death
The Blue Screen of Death (BSOD) is a critical error that halts system operations. It often indicates serious underlying issues, ranging from hardware malfunctions to software conflicts. Addressing this problem promptly ensures your system remains functional and reliable.
Identify and Search for Error Codes
When a BSOD occurs, it displays an error code that provides clues about the issue. Use tools like WinDbg to analyze minidump files and pinpoint the root cause. These files contain detailed information about the error, helping you identify problematic drivers or hardware components.
For advanced diagnostics, schedule memory tests using tools like MemTest86. This ensures your RAM isn’t contributing to the issue. Additionally, check BIOS hardware monitoring settings to detect any anomalies in system performance.
Check for Overheating
Overheating is a common cause of BSOD errors. Monitor your system’s temperature using software like HWMonitor. If temperatures are high, inspect cooling components such as fans and heat sinks.
Reapply thermal paste to the CPU and GPU to improve heat transfer. Use stress testing tools like Prime95 or FurMark to evaluate system stability under load. This helps identify whether overheating is the culprit.
Boot into Safe Mode
Safe Mode isolates the issue by loading only essential drivers and services. Boot into this mode to determine if third-party software or drivers are causing the BSOD. Use driver isolation techniques to identify problematic components.
If the system operates normally in Safe Mode, consider restoring it to a previous state using a system restore point. This can resolve software conflicts without extensive troubleshooting.
| Tool | Purpose | Usage |
|---|---|---|
| WinDbg | Analyze minidump files | Identify error codes |
| HWMonitor | Monitor system temperature | Detect overheating |
| Prime95 | Stress testing | Evaluate system stability |
Signs You Need to Call a Professional
Recognizing when professional help is needed can save time and prevent further issues. While many problems can be resolved with basic troubleshooting, some require specialized skills and tools. Knowing the signs ensures your devices remain functional and your data secure.
Certain issues, like damage from electrostatic discharge, are best handled by experts. Professionals use advanced equipment like BGA reballing tools to repair intricate components. Microsoldering certification ensures precision, especially for board-level repairs.
Liquid damage often leads to corrosion, which worsens over time. Professionals can assess the extent of the issue and provide timely solutions. They also understand the differences between consumer and data center hardware, ensuring appropriate repairs.
- BGA reballing equipment requirements for precision repairs.
- Microsoldering certification ensures expertise in delicate tasks.
- Component-level vs board-level repairs for tailored solutions.
- Data center vs consumer hardware differences in repair approaches.
- Electrostatic discharge damage indicators for early detection.
- Liquid damage corrosion timelines for timely intervention.
- Manufacturer repair program comparisons for cost-effective solutions.
- Warranty voidance indicators to avoid unnecessary expenses.
Calling a professional not only resolves immediate issues but also extends the lifespan of your devices. Their expertise ensures repairs are done correctly, preventing recurring problems. Always consider professional help when DIY solutions fall short.
Preventive Maintenance Tips
Regular maintenance is the cornerstone of keeping your system running smoothly. By implementing preventive measures, you can avoid common issues and extend the lifespan of your hardware. A well-maintained setup ensures optimal performance and reduces the risk of unexpected failures.
One critical aspect of maintenance is managing airflow. Positive vs negative airflow configurations can significantly impact cooling efficiency. Positive airflow pushes cool air into the case, while negative airflow pulls hot air out. Choose the configuration that best suits your system’s needs.
Environmental factors also play a role. ISO Class clean room standards ensure minimal dust and contaminants, which can clog fans and reduce cooling efficiency. Conformal coating applications protect sensitive components from moisture and corrosion, further enhancing durability.
Power management is another key area. Regularly replacing UPS batteries ensures uninterrupted power supply during outages. This simple step can prevent data loss and hardware damage. Additionally, monitoring SSD write endurance helps identify when storage devices are nearing their lifespan.
Anti-vibration mounting techniques reduce wear and tear on mechanical components like HDDs. Environmental monitoring systems track temperature and humidity levels, providing real-time alerts for potential issues. These tools are essential for maintaining a stable and reliable setup.
For more detailed insights on preventive measures, refer to this guide. By following these tips, you can ensure your system remains efficient and reliable for years to come.
Conclusion
Maintaining your system’s performance requires a balance between repair and replacement decisions. Evaluating the cost-benefit of fixing hardware versus upgrading can save both time and resources. Emerging trends like quantum computing and photonics are reshaping the future of technology, making it essential to stay informed.
Certified refurbished programs offer cost-effective solutions while reducing e-waste. Disaster recovery planning ensures your computer remains operational during unexpected issues. Remote diagnostics advancements simplify troubleshooting, providing efficient solutions without physical intervention.
For those looking to deepen their knowledge, resources like COMPTIA and Cisco certifications are invaluable. Staying proactive with preventive measures and continuing education ensures your system remains reliable and future-ready.
FAQ
What should I do if my computer won’t turn on?
Start by checking power connections, inspecting the power supply unit (PSU), and testing different outlets to ensure the issue isn’t with the power source.
How can I fix a computer that turns on but doesn’t work properly?
Listen for beep codes, check the Power-On Self-Test (POST), and inspect components like RAM and the video card for potential issues.
What steps can I take if my computer screen freezes?
End non-responding programs, reboot into Safe Mode, and check for defective hardware or outdated drivers causing the problem.
How do I resolve insufficient memory on my computer?
Close unnecessary programs, reboot the system, install updates, and consider adding more RAM to improve performance.
What should I do if I encounter a CMOS error?
Replace the CMOS battery and reset the CMOS values to their default settings to resolve the issue.
How can I fix a missing operating system or undetected hard drive?
Reconnect the hard drive, set the BIOS to default, and rebuild the Master Boot Record (MBR) to restore functionality.
What actions can I take when facing the Blue Screen of Death?
Identify and search for error codes, check for overheating, and boot into Safe Mode to diagnose and fix the problem.
When should I call a professional for computer repair?
Seek professional help if you encounter persistent hardware failures, complex error messages, or if DIY troubleshooting doesn’t resolve the issue.
